
Learn how to paint cardboard to have a professional finish with these tips and tricks.
Types of Paint for Cardboard
There are many different kinds of paint you can use with cardboard. The most popular choice are acrylic paints, which you can either brush on or buy as spray paint.
Latex paint can also be used, although it tends to be thinner and has a tendency to drip. Still, if you are painting a large piece of cardboard, latex paint is typically cheaper than acrylic paint. You can use flat, eggshell, semi-gloss or high gloss – just all depends on the type of finish you like.
The biggest advantage to acrylic paints is they dry quickly and there are a lot of different color options. You can easily mix together different colors to get any color you might want,
Spray paints are typically acrylic paint, but they do pose some safety and environmental concerns. You cannot use spray paint indoors unless you have a professional spray booth set up with proper ventilation. Aerosol cans are also combustible and not the easiest to recycle because of that.
For this reason, this article is going to mostly focus on tips for brushing on paint, whether you choose to use acrylic craft paints or latex-based paints available at any home improvement store.
Tips for Painting Cardboard
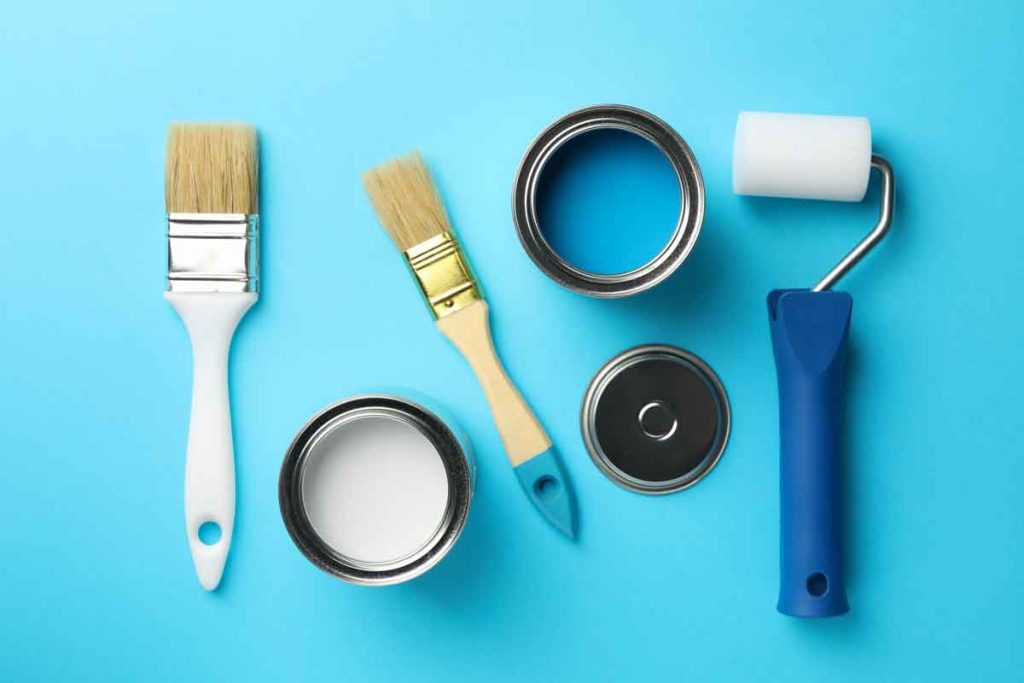
1. Use the Right Brush
Before we get started painting our cardboard, we need to start with the right kind of brush!
The size of what you are painting is going to dictate what you should use for painting. For very large projects like playhouses, forts, pretend cars, and boats you can sit in, you will probably want to use a small 4-inch or 6-inch paint roller. This is going to help you get uniform coverage quickly.
For covering a smaller-than-a-fort, but still pretty big area, you will want to use the largest brush that makes sense. Most paintbrushes are available in sizes between 1 inch and 4 inches at home improvement stores and smaller flat brushes available at craft stores are great for covering areas.
This is a good time for us to talk about foam brushes vs. regular brushes because one of the common problems with a regular brush is if will leave brush strokes as you paint.
Sometimes these brush strokes are desired, especially if trying to mimic the look of natural wood grain or going for a distressed look. Other times, you might not want those brush strokes to show and that is when you would want to use a foam brush.
Foam brushes do not leave any stroke marks in the paint, but they do tend to fall apart pretty easily because the foam can bend and break if you push on it too much. They can also break pretty easily when you go to wash them – most brushes you find in stores today are intended to be disposable and for single use only.
Still, if you need a smooth finish, such as painting with metallic paint on a rocketship model, the foam brushes can be handy to have. If you don’t have foam brushes, you can always sand the brush strokes out.
Fortunately, I love trying to paint to mimic real wood and giving my projects a distressed look! I also often peel the smooth surface away from corrugated cardboard and regular brushes are best for getting into all those little grooves, nooks, and crannies!
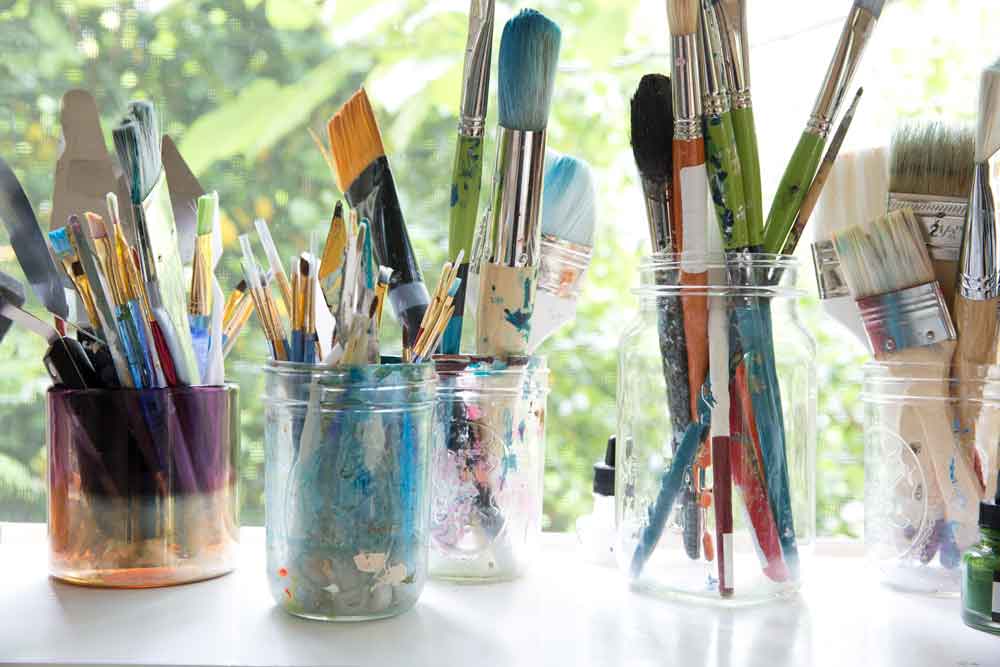
One last thing about paintbrushes – try to get the best quality brushes you can afford. Cheap, low-quality brushes have a tendency to shed and you definitely do not want to find brush hairs in your project! A good quality brush can last you years with proper cleaning and storage between uses.
2. Start With a Primer
Cardboard, like wood and paper, is a porous material. What this means is that the first layer of paint you put down is going to just soak into the cardboard and the colors are going to be very dull. It is not going to cover up any printed text or graphics on the box.
If you make your first coat a coat of primer, the paint will have something to stick to and you will get much brighter and bolder colors.
Another advantage to using a primer is it will cover up any printed areas of the box. If you are using a cereal box for example or a packaging box with brand names and logos on it, you will probably want to cover that up. Using a primer makes it so these things won’t show through your paint.
Note that if you are using cardboard that has a glossy or waxy finish, you will need to sand this to give the surface some grit for the primer to stick too. Sometimes, depending on the cardboard, you can simply peel the glossy paper off.
I usually like to use gesso as a primer. Pronounced Jess-O, it’s the number 1 choice for artists no matter what they may be painting, whether it is canvas, fabric, or wood. Liquitex gesso is my favorite, but of course, there are economy student grade brands to choose from.
Gesso is thicker than most paint and so you will really get some great coverage – sometimes you have to be careful that you don’t apply it on too thickly!
While one coat is usually sufficient, many people like to do two coats of gesso.
Latex primer can also be used. While it is definitely cheaper and easy to find in a gallon size, you will likely need to use two coats of it, especially if trying to hide words, logos, or numbers.
3. Dry and Sand Between Coats
Large projects like forts and playhouses and pretend cars do not need to be sanded between coats of paint. For smaller projects like cardboard jewelry and decor items, I like to sand between coats whenever possible because it really does make a difference for getting a professional finish!
Professional woodworkers know that allowing the paint to fully dry and then lightly sanding in between coats will give you professional results. Use a fine-grit sandpaper and be sure to wipe with a tack cloth before painting your next coat. Take care that you don’t sand too much as this will take the paint right off!
Sanding helps you achieve a smooth and uniform result – if you have a lot of drips with bigger projects, you can easily fix these by sanding them in any problem areas.
Of course, if you are just painting cardboard for a fun project or maybe helping your kids make stuff out of cardboard, you can probably skip the sanding. It’s not essential – just nice to do for home decor items and sculptures – if you do a good enough paint job no one will ever guess you used cardboard as a building material!
4. Paint Your Details
Painting small details can sometimes be tricky, but there are a few tricks that will make this easier for you
Let’s go back to talking about brush sizes for a minute. Just as we used big brushes for big areas, we want to use small brushes for smaller areas. A small round brush is usually best for this. Round brushes have a rounded edge which helps with being able to control your brush strokes to create details.
Depending on how fine of details you need to add, you could also opt to use a marker. Permanent markers such as the Sharpie brand or Uni-Posca paint makers are both great choices to help you add fine details without having to worry about controlling the brush.
If you are painting something like a design or flourish on your project, it’s usually best to trace your design onto the surface of your painted area. I usually do that by photocopying or printing the design on paper and then cutting it out. This makes it super easy to trace where I want to paint it.
Stencils can also be used. If using stencils, you will want to tape them temporarily so they stay in place. If the stencil isn’t huge, I like to use foam make-up sponges as a brush, they really help you get a clean edge!
5. Apply a Wax, Varnish or other Sealer
Sealer and varnish aren’t required for a lot of things you might make out of cardboard, but again if you are creating works of art or building home decor items or want to achieve professional results, you will definitely want to give it a final coat of either wax, varnish or another sealant to help prevent dust and scratches.
Wax is often used for furniture as an alternative to varnish and irs great for a lot of things. You may need to occasionally wax your project every few years but its a great option in a lot of cases. You can get find it clear or even in different colors by some manufacturers. I like the wax because it’s not messy, doesn’t smell like other varnishes, and it’s really easy to apply.
You can also use a water-based acrylic varnish on your project. These can be found as sprays or you can buy them for brushing on as well.
Solvent Polyurethane varnish can also be used with cardboard – but do make sure to take care when using it – I recommend using it outdoors only!
As the formulation and ingredients for all the different brands out there can vary widely, you will need to read the safety data sheet and follow the directions provided by the manufacturer.
Painting cardboard is not much different from painting things out of wood and when you take the time to do a nice paint job no one will ever know you used cardboard!
Do you have any tips for painting cardboard we might have missed? Share them in the comments section below!